

So of course, I cut them up. I made him a brand new pair of pajamas that will last at least another year or so, and *it only cost me about $2*! I didn't take a "before" picture of Kade in the pj's (that would have been cruel!), but I found a photo of similar ones online. They used to be a size 7, and now they are probably a 10-12.

This was a really easy, inexpensive project, so I thought it would be fun to share it with you! If your kids have favorite pajamas that they don't want to part with, or if you just want to stretch your dollar, this is the perfect project for you! (This is going to be a very long post, with lots of pictures!)
Here is what you'll need:
~1 pair of too-small pajamas
~2 matching solid color t-shirts
(I got one size Youth Large for the shirt because that's what size my son wears, and another size Adult XL to use as extra fabric for the pants. I found them at the dollar store, but you could find them on sale at Walmart or the thrift store. You could also use any other source of knit or flannel fabric for the pants, but this way, the pants and shirt match exactly.)
~Sewing machine, matching thread, scissors, ruler.
Here we go!
For the pants, we will be using the pajama pants as a base, and adding material onto them to make them bigger. Add as much as you want to make them as big/long as you need.
Begin by cutting off the waistband of the pants, and then cut off the two side seams, all the way from top to bottom.

Take the larger shirt and cut two strips from it that are the same length as the pants. I used the bottom hem of the shirt and just kept it as the bottom hem of the pants. (If your pants don't need to be made longer, this will make them look nice.) My two strips are each about 4 inches wide. The back of my pants was longer than the front, but my shirt wasn't quite long enough to match that length. Knit fabric is stretchy, so it doesn't matter!
*If your shirt or whatever fabric you want to use is too short, you can piece it together to make it long enough. You could even add a strip or two of the pajama material, cut from the front of your old pajama shirt.

Pin the right side of the strip to the right side of the top of the pants. I just folded the back of the pants underneath so I didn't accidentally pin them. Align the bottom hems, we will trim up the top later.

Sew these two seams using a 1/4" allowance, back-stitching at both ends. I have found that using lots of pins, sewing slowly, and with a longer stitch helps when sewing knits.

From the wrong side of the fabric, fold the seam away from the knit, and sew it down 1/8" away from the line you just stitched. Stitching down this seam will help make it stronger. If you have a serger, you could serge all the seams instead.
This is what it will look like from the right side of the fabric:

Now pin the other raw edge of your strip to the other side of the pant leg, sew the seam, and stitch the seam down. The side of your pant legs should look like this (mine is not laying flat because I haven't ironed the seams yet!):

Remember how I said the back of my pants were longer than the front? You can really see that now that the strip is sewn in:

No problem! Just cut off the too-long part, angling up towards the other side. You won't be able to tell at all once the waistband is in!

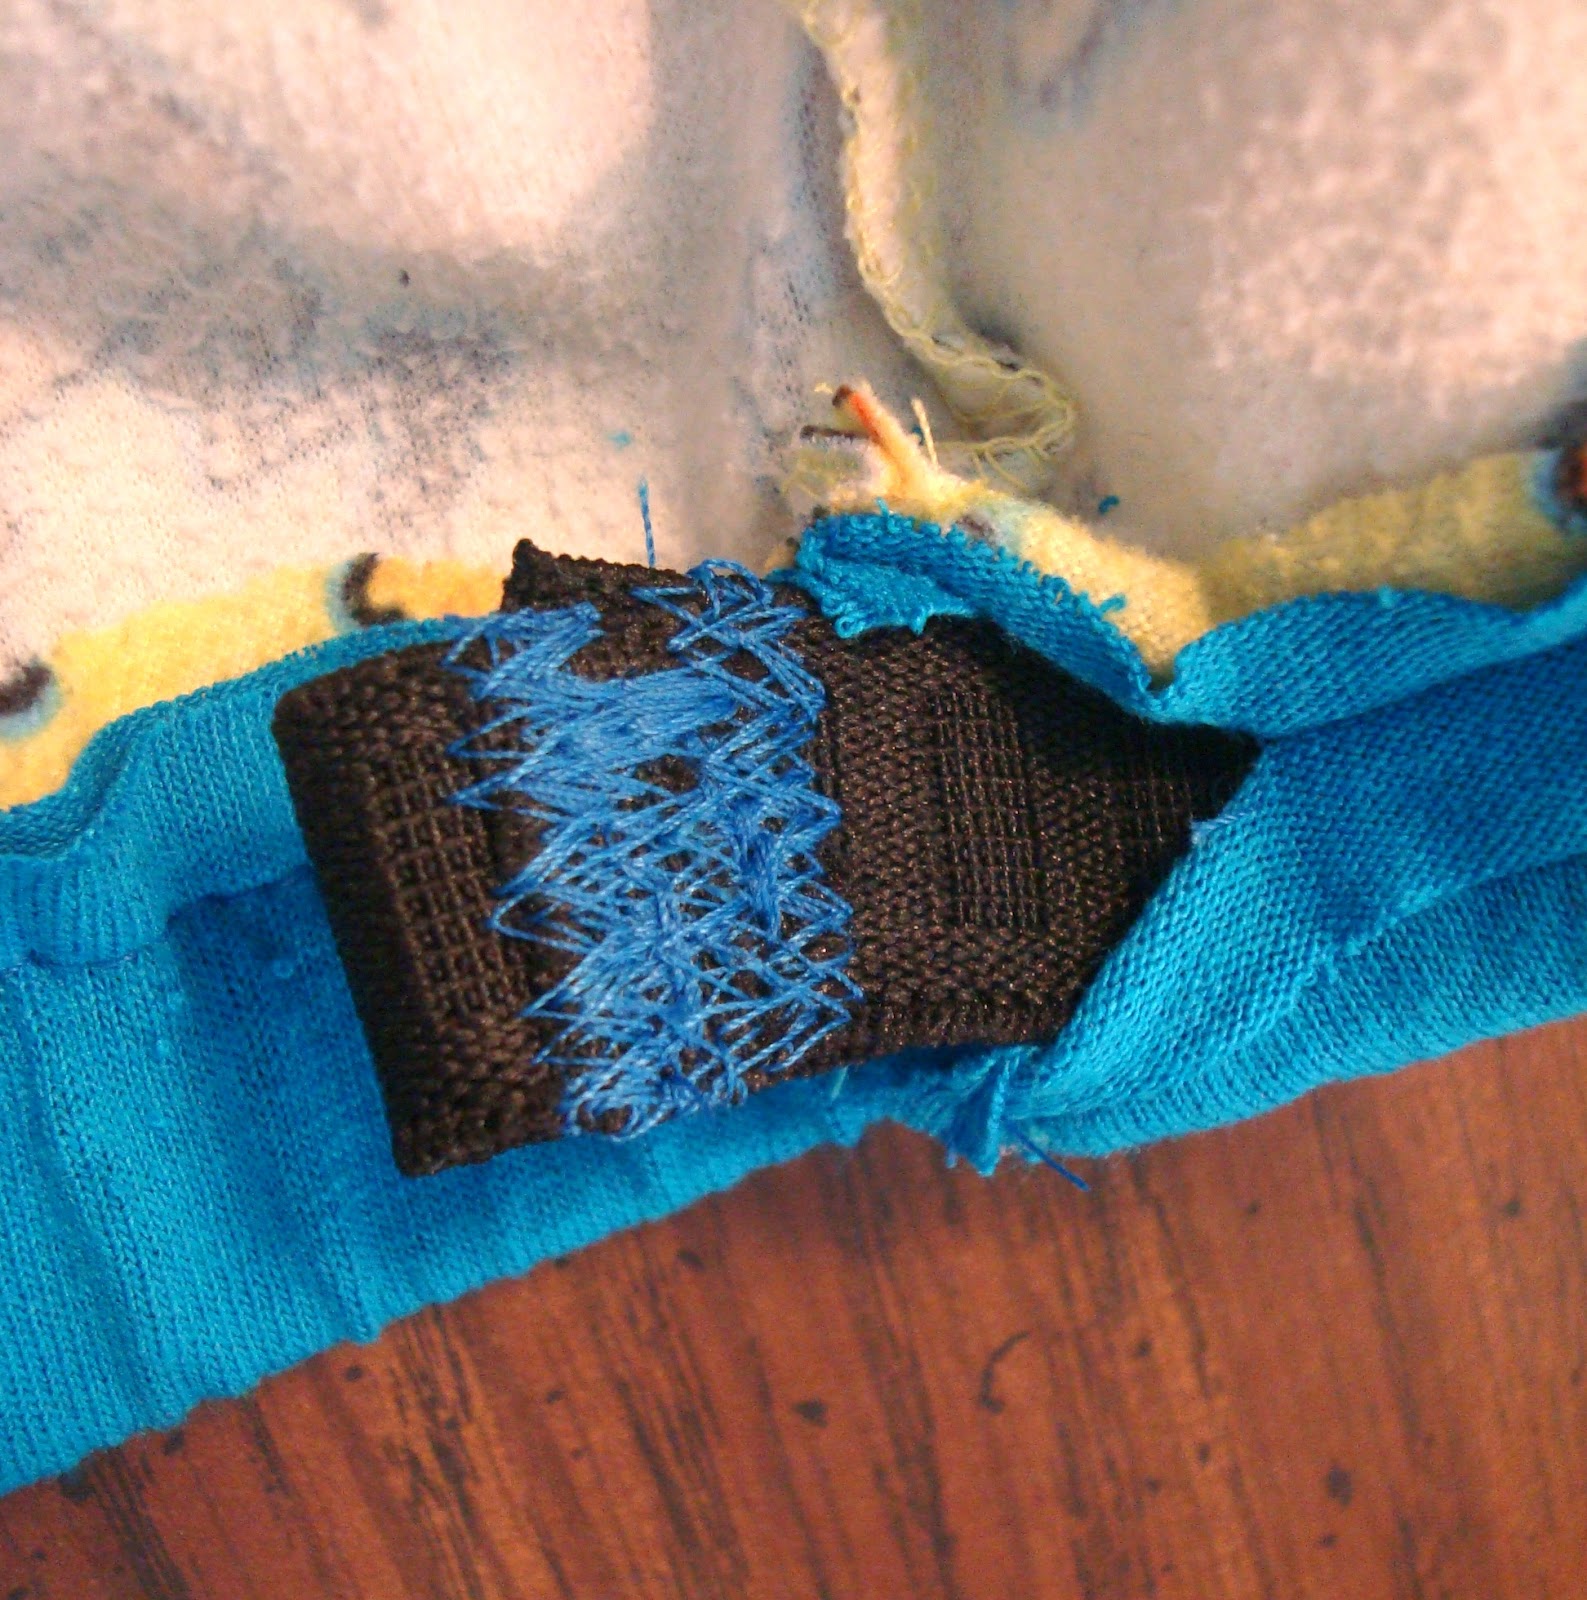
Next, cut another strip of fabric from the big shirt that will serve as the waistband. I just eyeballed it, but you could measure if you want. My strip was 2.5" wide, but next time I will do 3", because that would better fit the elastic I have. Sew the two short ends together.

Match up the seam you just made in the waistband to the seam in the middle of the back of the pants. Fold the strip in half, and pin it around the top of the pants. You will have three raw edges together (two from the folded strip, and one from the pants).

Sew, starting half an inch away from the center seam in the back, and ending half an inch away from that same seam. This will give you an inch opening that you can put the elastic into.

Take your elastic and put it around your child's waist to measure a comfortable length.
I always stick a safety pin onto the end of my elastic strip so I can pull it through the casing easily. Insert your elastic into the opening and push it all the way around and back out the opening again. Make sure you keep it flat and not twisted! Twisted elastic is not comfortable!

My elastic got twisted, and I didn't figure it out until I had already sewed it shut. So I just cut it, readjusted, and sewed again. That is why it looks so messy! Sew the elastic with the ends overlapping about half an inch (*not* with the raw ends together, because that will make a lump. If you overlap the ends and sew it, the elastic will be flat all the way around.)
Sew that little opening closed now!

Now, sew the seam down, 1/8" down from the line you just stitched. You'll have to stretch out the elastic as you go around the pants. I used a little strip of fabric for a tag, and just tucked it under the seam before I sewed it down.

Now the waistband is done! If your pants don't need to be made any longer, you're done! Mine were long enough, but I decided to add more onto the bottom anyways, so my son has some room to grow into them even more.

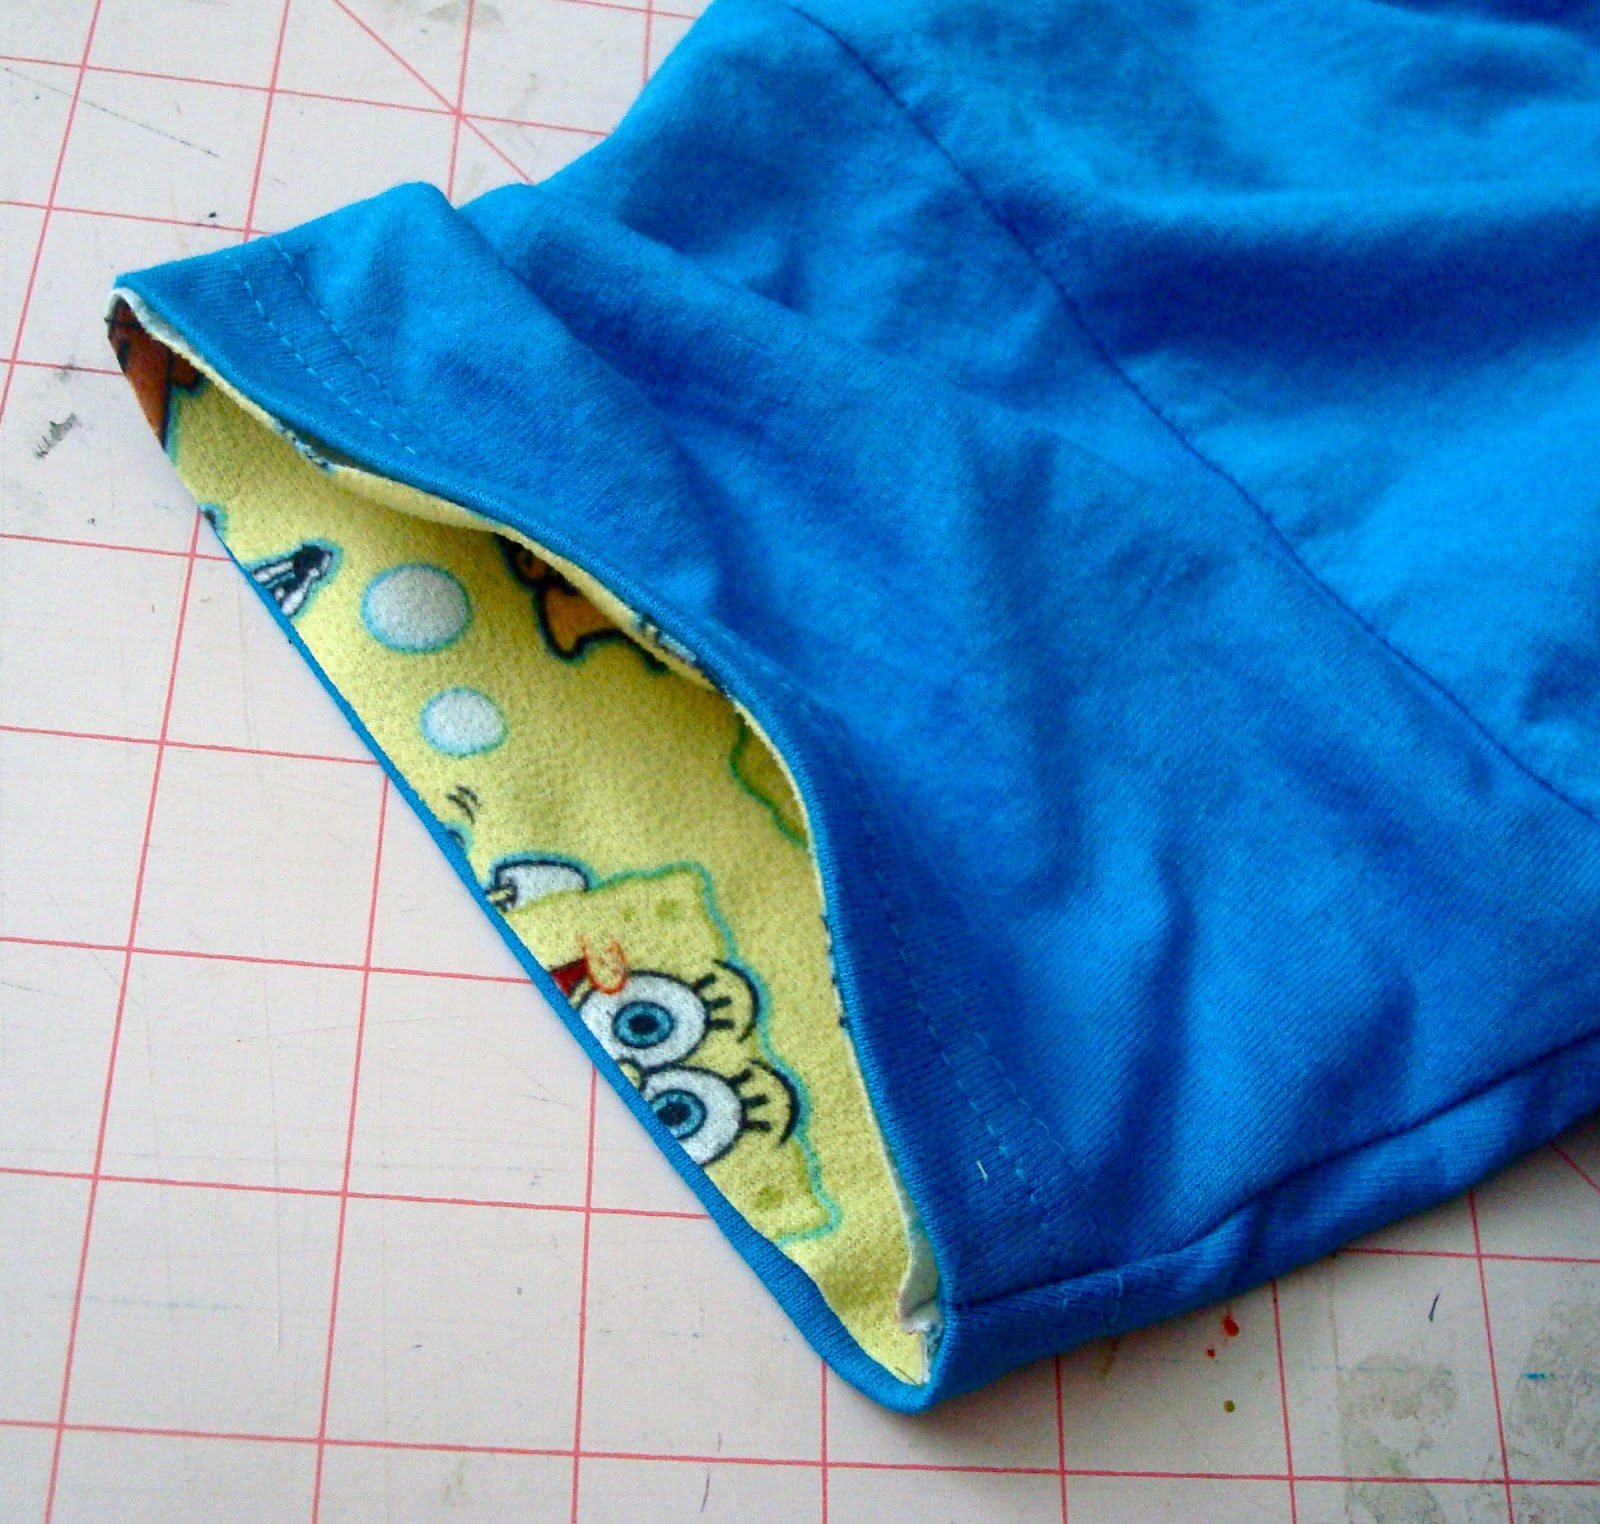
The cuffs on the bottom of the pants are the same basic idea as the waistband. Cut a wide strip of fabric (I made mine 5 inches) long enough to go all the way around, with about half an inch extra for the seam.

Sew the two short ends together, and then fold the cuff in half, lining up the side with the two raw edges to the bottom edge of the pants. I lined up the cuff seam that I just sewed to match the inside seam of the leg.

Pin all the way around. Sew, and top stitch if you want to.

Now these pants are about 2.5" longer than they were before!

The pants are done! And they look awesome!
You can see from the picture how small they used to be, and how much we added onto them to make them bigger.

Now onto the pajama shirt!
For the shirt, we'll be using a matching t-shirt that fits your child for the base, and cutting up the too-small pajama shirt to embellish the t-shirt.
First, the sleeves.
If your old pajama shirt has short sleeves, so will your new shirt (unless you bought a long sleeved shirt!). You can skip ahead past these steps for transferring the long sleeves of the pajamas onto the new matching t-shirt.
If your old pajamas had long sleeves, cut them off at the shoulder seam. Then cut straight across like I have done here, and discard the little part on top that you cut off:

We're going to sew the whole sleeve onto the hem of the t-shirt. I have lined them up here with both seams lining up at the bottom.

Turn the sleeve inside out. We will place the inside out sleeve *inside* the right side out t-shirt. This picture shows how the sleeve will be positioned inside the shirt. Keep the seam of the sleeve at the bottom, and line up the raw edge with the hem of the short sleeve.

Now we slip the sleeve just like this inside the shirt. The wrong sides will be together. Line up the edge.
Pin all the way around.

My t-shirt had two stitched lines. I sewed right on top of the line furthest away from the edge (about 1 inch).

Now if you flip the hem of the short sleeve back, you will just see a wide strip of pajama sleeve.

Trim it down to about 1/4 inch.

Now pull the sleeve out, turning it right side out, and press everything flat. It looks done, but I top stitched so the sleeve lays flatter, and it's more secure.

I didn't bother pinning this time. Make sure you don't accidentally leave the fabric all bunched up, it is a little tight getting into the sleeve to sew the hem! But it will work out fine! Sew about 1/4 inch away from the last line you stitched (between that line and the hem). I just sewed over the other line that was already on my t-shirt.

This is how your sleeve should look! You can't even see where I sewed, because I used matching thread and sewed over the existing lines.

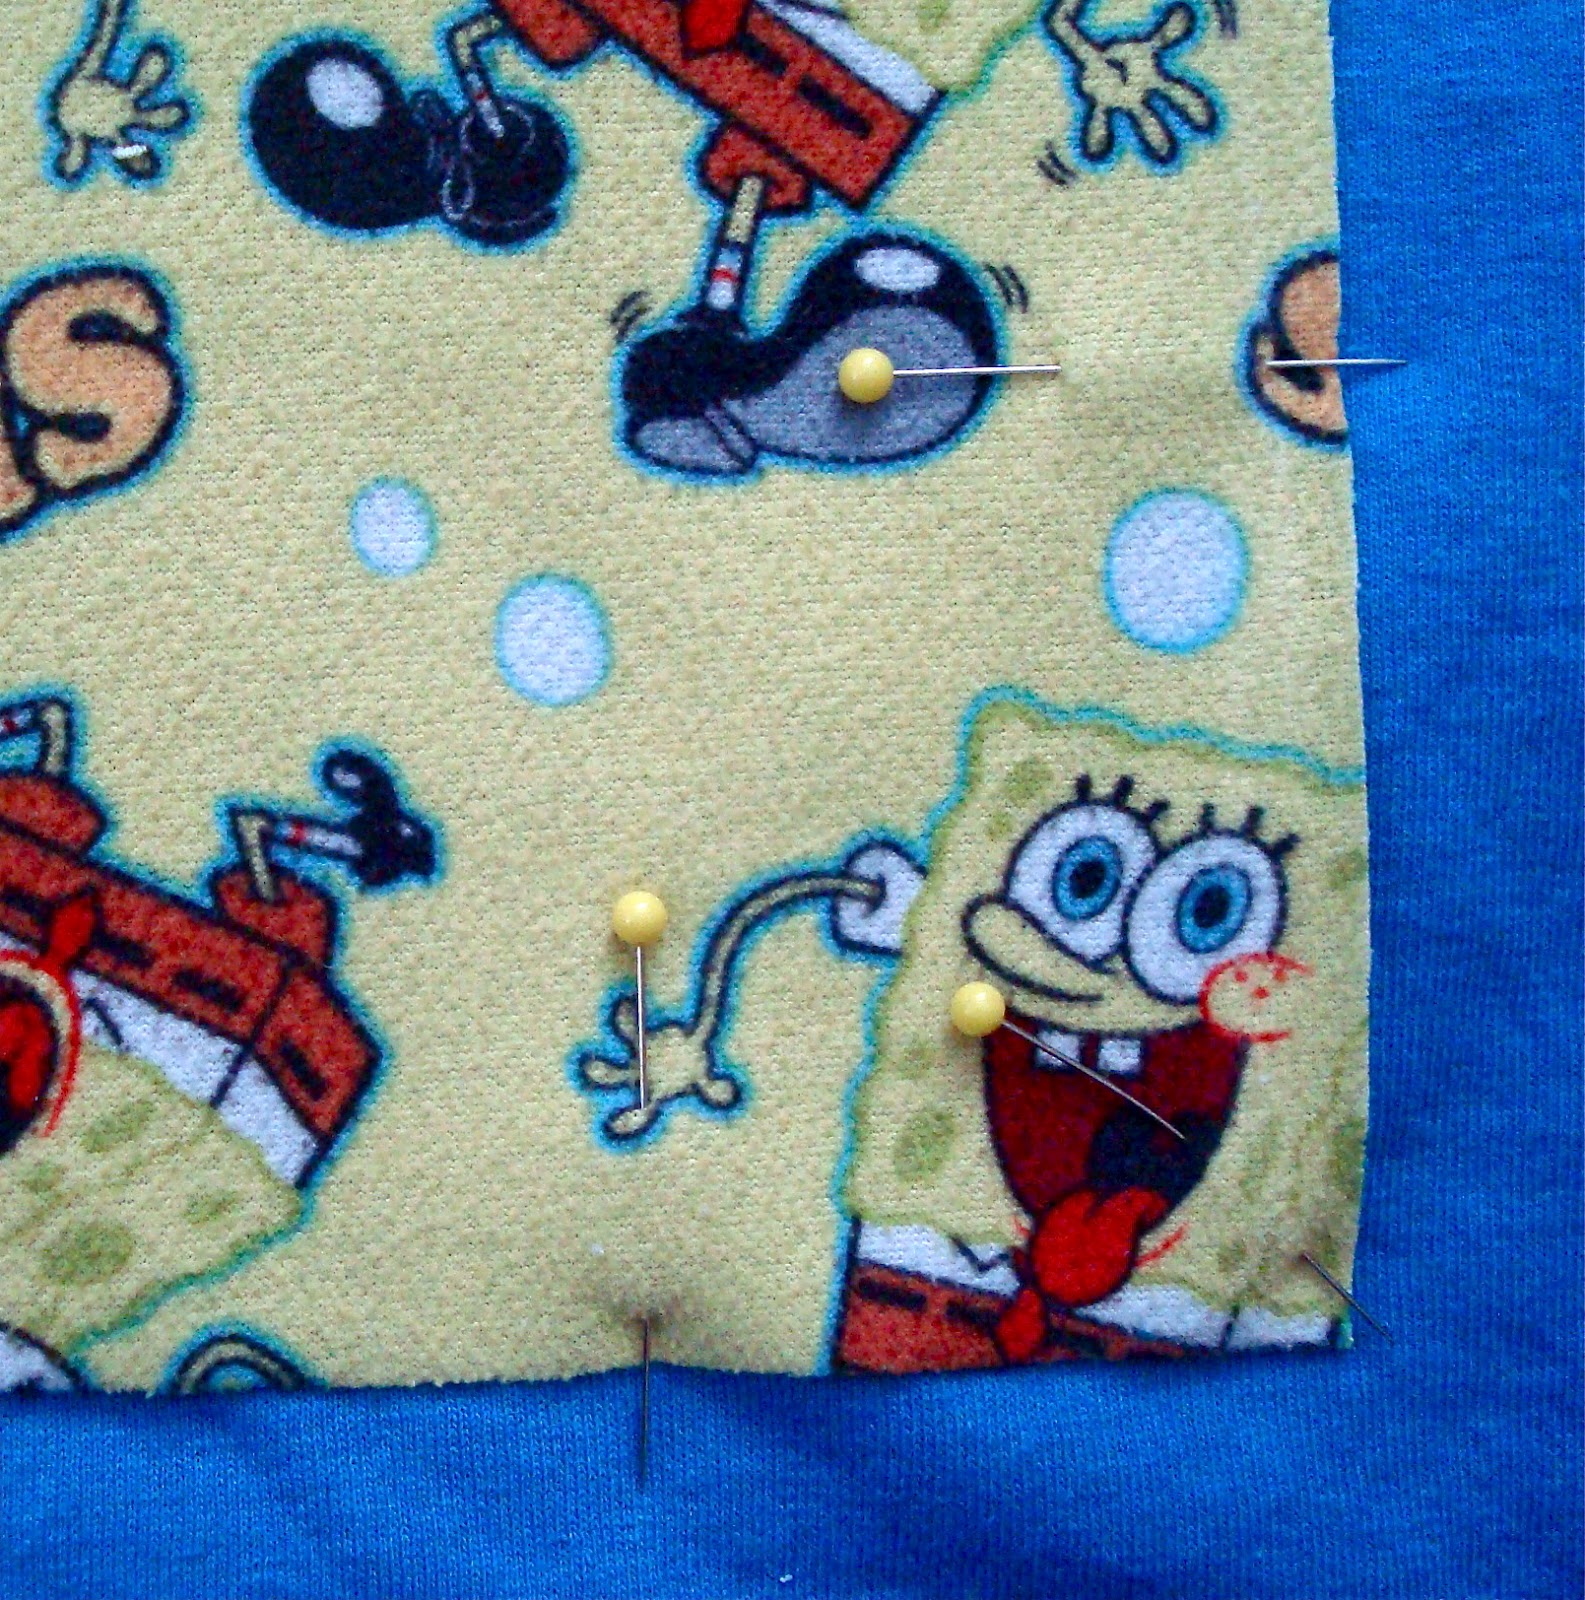
To embellish the shirt, you can use your imagination! I decided to cut a big square from the back of the old pajama shirt, and sew it onto the front of the new shirt. I placed it in the center of the shirt:

and pinned it down, and sewed it on 1/4 inch away from the edge. The pajamas were cotton flannel, so it won't fray and unravel.

Kade wanted bubbles, because there are bubbles on the fabric. I cut them out of an old white t-shirt. But I can't find my free-motion foot right now, so I'll have to sew them on later!

Your shirt is done! If you didn't want to just do a big square on the front, you could cut a few wide strips and do that instead. Or you could do 4 or 9 smaller squares and sew them on in a square pattern. You could use more of the old pajama shirt fabric to create a pocket (or even pockets on the pants!). Just have fun with it, your child will love their "new" pajamas!

For a couple bucks, we just created a brand new pair of pajamas, and saved your child's favorite old pair that they did not want to part with! These will fit my son for at least another year or two, depending on how fast he grows. He was very excited when I showed him these, and insisted on wearing them the whole day. I think they're super cute! They were simple to make, cheap, and now I'm thinking about how I'm going to enlarge all his other pajamas when the time comes!
Little brother Cole happened to have a matching sleeper, so it made for an adorable photo shoot! :)


Have fun sewing your new pajamas! Let me know if you try out this tutorial (and if you see any mistakes I need to fix!). Thanks for bearing with all the pictures and the over-explanations, hopefully at the very least you got a couple new ideas!
12 comments:
Thank you so much! very detailed tutorial!
I like the tutorial. To tell the truth, I'm always having problems with pajamas. My son is growing so fast. From now, I definitely know what to do in this case:) Ordering a dissertation at http://dissertationwriting.services/ is now became affordable for every particular student!
dấu hiệu sỏi thận
mổ sỏi thận
tán sỏi thận
thuốc trị sỏi thận
triệu chứng bệnh sỏi thận
viên uống trắng da
cách làm trắng da toàn thân tại nhà
thuốc uống trắng da có hại không
cách làm đẹp da tự nhiên
làm trắng da mặt nhanh
amejolie
tác dụng của collagen
cách uống collagen
có nên uống collagen
viên uống collagen nào tốt
nên uống collagen loại nào
Your blog posts are more interesting and impressive. I think there are many people like and visit it regularly, including me.I actually appreciate your own position and I will be sure to come back here.
instagram online photo
This is very nice post. Thank you for the valuable information. Welcome people go to my site 192.168.l.254 to see more information about 192.168.1.1
This is the nearest article I wanted. I'm trying to shorten and widen a pair of pyjamas because I'm having an operation on my knee and will probably have plaster round it. I would have difficulty altering a pair of pyjama trousers to wear, either on the ward or at home and am trying to prepared.
I've got some material to use and will try out your tips, but more a larger size!!
Thanks,
I enjoyed reading the blog love your blog , Thanks for sharing all of the useful info will come back to read more www.norton.com/setup
Great information, i was searching of this kind of information, thank you very much for sharing with us. i also have some links to share mcafee.com/activate
www.mcafee.com/activate
This is a great idea for repurposing old clothes.
They specialize in building custom websites, mobile apps, e-commerce platforms, and branding solutions that are both simple to use and visually appealing. Their team is committed to ensuring each project is tailored to meet the specific needs of their clients. In addition to web development, Emeriosoft offers services like SEO, social media marketing, and digital branding to help businesses grow and gain visibility online. Whether you're launching a new venture or enhancing your online presence, Emeriosoft is dedicated to helping you succeed.
Great tutorial! I appreciate how you broke down the steps so clearly. Adjusting pajamas for a better fit is such a useful skill, and your tips make it seem so easy to do at home.
Team: Web Design Dubai
Post a Comment