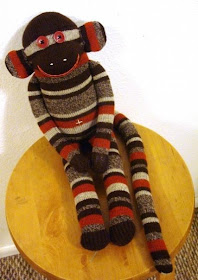
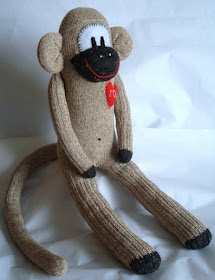
I have used many different backgrounds, from nature, to fabric, to poster board, and more. Some pictures did not turn out- the ones in my kitchen against my white walls were all washed out and the wrong color:

The ones outside were too bright or had shadows across the item. The ones on tissue paper were alright, but the paper was at times not big enough, and then I had messy lines that I had to erase digitally (because yes, the lines bugged me!):

I have finally found a method that works for me- I spent no money trying to make a light box that I'd have to store somewhere, and best of all, it's easy!
The key for me is bright indirect sunlight, for whatever background I use. This ensures that the photo is well lit but has no harsh shadows on the background, as well as no glare. I grab the roll of white paper from the art easel, unroll about 3 feet, set the roll on top of some chairs, and drape the paper onto the floor. Notice my very professional paperweights holding the corners down.

Then I get down in front of the paper and snap away! Here are some pictures from the above photo shoot.


The only thing I did to edit them was crop them into squares and add a little edge blur. The color of the white paper is a little off because the day was very cloudy and gray, but the color of the bunnies turned out perfect, so I chose not to change anything. This method also works well with nice smooth fabric (for my Dino's), poster board (for my elephants and owls), and probably a few other things.
For those of you with amazing cameras and PhotoShop, this info will most likely be useless to you. But to those of you who, like me, needs to use what they have and still hopefully get somewhat professional looking photos, I hope this info will give you some good ideas of your own! :)

No comments:
Post a Comment